Adb: Take a Screenshot with a Laptop
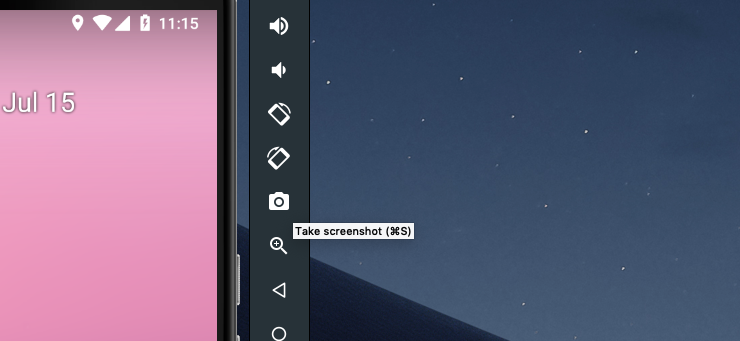
When you use an Android emulator, taking a screenshot is quite easy. Just press the ‘Take screenshot’ on the sidebar or press the shortcut (For Mac, ⌘ + S). However, it is slightly cumbersome if you want to take a screenshot from your device and store that in your laptop. The reason is that you need to pull a screenshot file after taking a screenshot in the device.

When the device is connected to your laptop, you can do it with adb commands: shell and pull. The first command takes a screenshot and store into your device. The second command pulls it to your laptop from the Android device. Although it works, it makes a bit unnecessary intermediate file in your device, which is screenshot.png.
$ adb shell screencap -p /sdcard/screenshot.png
$ adb pull /sdcard/screenshot.png
In addition to an intermediate file, this requires two commands. This is not a big deal but you may want to find a simpler way. If you are looking for it, below command is it. This command takes a screenshot from the connected device and stores it on your laptop.
$ adb exec-out screencap -p > screenshot.png
This command saves a screenshot to screenshot.png. As you notice, this will overwrite an existing file when you run multiple times. You probably don’t want to do. When you click ‘Take screenshot’ on Android emulator, it uses a naming convention, Screenshot_{unix_timestamp}.png. To do the same behavior, you can utilize date command.
$ adb exec-out screencap -p > `date +Screenshot_%s.png`If you run this frequently, you can set an alias for that.
.zshrc
alias asc='adb exec-out screencap -p > `date +Screenshot_%s.png`'This command is enough for most cases. However, there is still some chance to overwrite because unix_timestamp uses seconds. If you concern that, you can add a millisecond additionally. %N returns nanoseconds and %3N returns milliseconds by cutting the first 3 digits.
$ adb exec-out screencap -p > `date +Screenshot_%s.%3N.png`Unfortunately, date command in the mac doesn’t support %N. So, you can’t get milliseconds. If you have this issue, use gdate(GNU date) command.
$ brew install coreutils
$ adb exec-out screencap -p > `gdate +Screenshot_%s.%3N.png`
brew install coreutilsinstallsgdateon Mac.