Syntax Highlighting in Jekyll
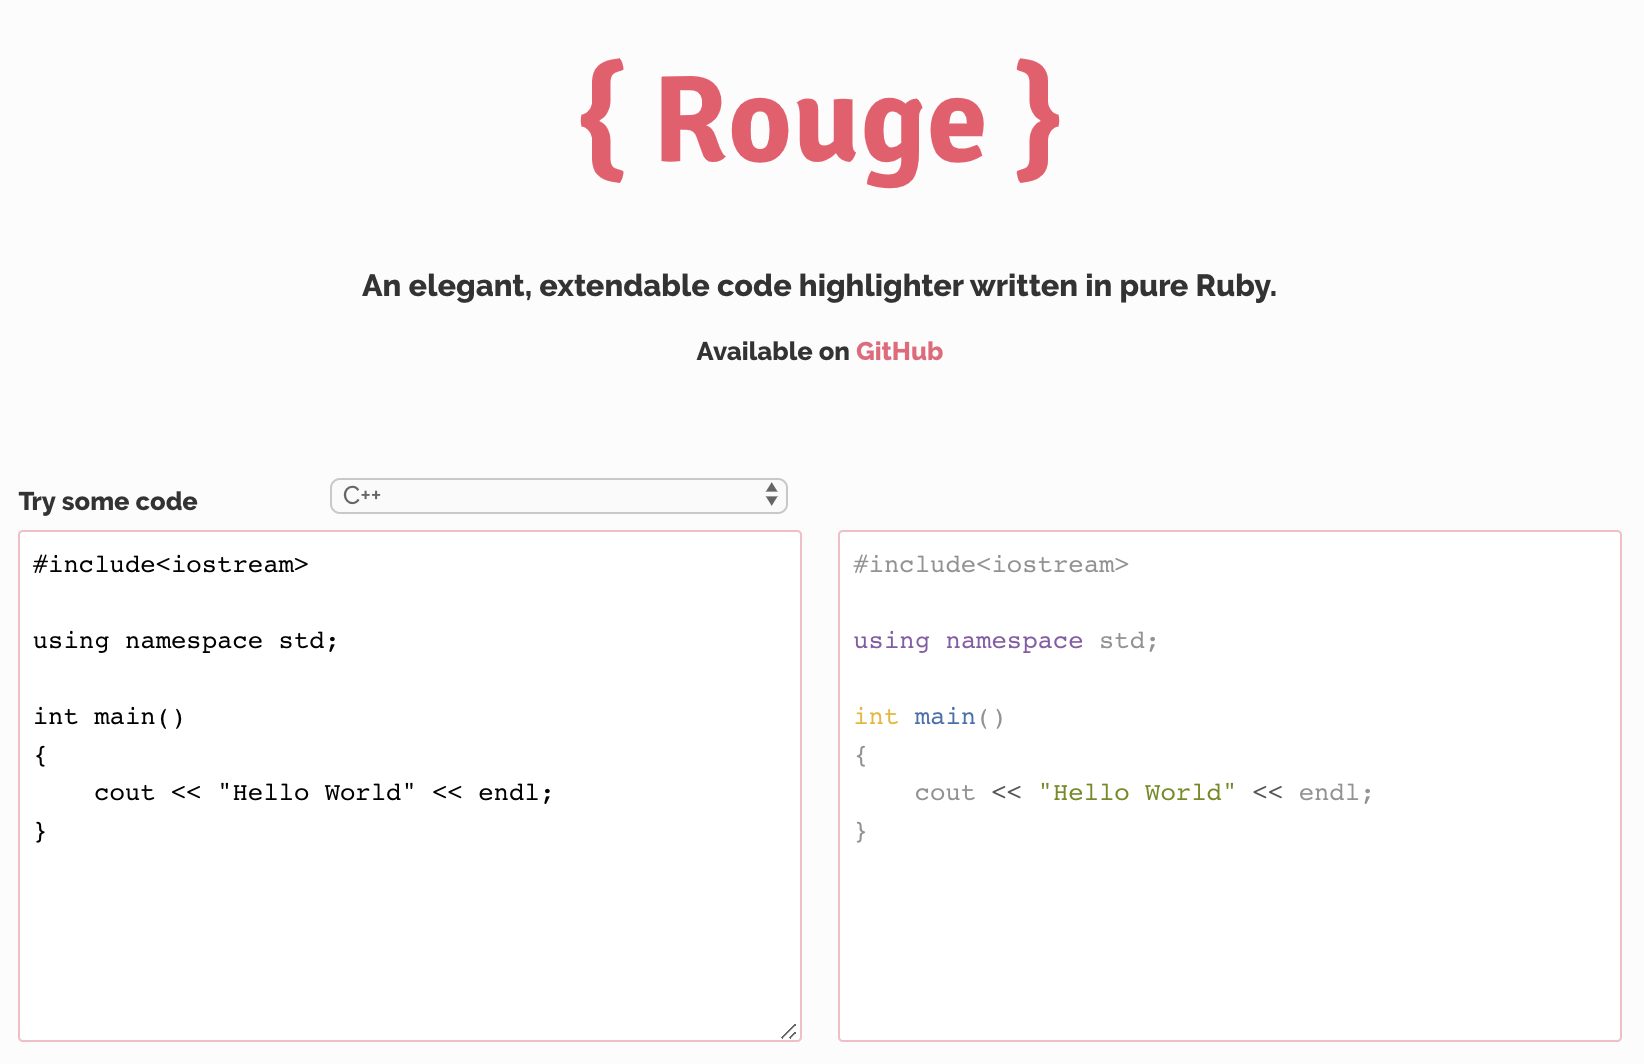
Jekyll has powerful support for syntax highlighting to show code snippets better. By default, Jekyll utilizes Rouge, which is a pure ruby-based code highlighter. Rouge can highlight 100 different languages. Thus, you don’t have to worry about how to set up something for syntax highlighting.

How to Use
When you want to show the code snippet, you can enable syntax highlighting with {% highlight <lang> [linenos]%} and {% endhighlight %}. lang is a required parameter. You can check a list of supported languages and live demo.
{% highlight ruby %}
def print_hi(name)
  puts "Hi, #{name}"
end
print_hi('Tom')
#=> prints 'Hi, Tom' to STDOUT.
{% endhighlight %}
def print_hi(name)
puts "Hi, #{name}"
end
print_hi('Tom')
#=> prints 'Hi, Tom' to STDOUT.With an optional linenos parameter, the line numbers are shown while highlighting the code.
{% highlight ruby linenos %}
def print_hi(name)
  puts "Hi, #{name}"
end
print_hi('Tom')
#=> prints 'Hi, Tom' to STDOUT.
{% endhighlight %}1
2
3
4
5
def print_hi(name)
puts "Hi, #{name}"
end
print_hi('Tom')
#=> prints 'Hi, Tom' to STDOUT.
fenced_code_blocks for Markdown
You typically write posts in Markdown, supported by Jekyll. In Markdown, syntax highlighting is enabled with three backticks(```). It is natural that you want to do it instead of {% highlight <lang> [linenos]%}. This is called fenced_code_blocks and Jekyll set it to true by default. So, you can do like below:
```ruby
def print_hi(name)
  puts "Hi, #{name}"
end
print_hi('Tom')
#=> prints 'Hi, Tom' to STDOUT.
```
You may assume that this is a just simpler way for syntax highlighting in Jekyll. It looks like that but there are a few small differences actually.
- Line numbers: With
fenced_code_blocks, you can’t specifylinenosto show the line numbers together. - HTML Output: There are different HTML outputs. Although both are compatible with themes, you might need to consider this once you add some custom styling.
With highlight and endhighlight

With fenced_code_blocks

Themes
Rouge’s HTML output is compatible with stylesheets designed for Pygments, which is another syntax highlighter written in Python. It was released much earlier than Rouge. Rouge’s compatibility makes us find available stylesheets easily on the internet. You can find some in Jekyll Themes. After downloading a stylesheet, copy it to a CSS directory (/css). Then, you can import it in the main stylesheet like this:
@import "fruity.css"